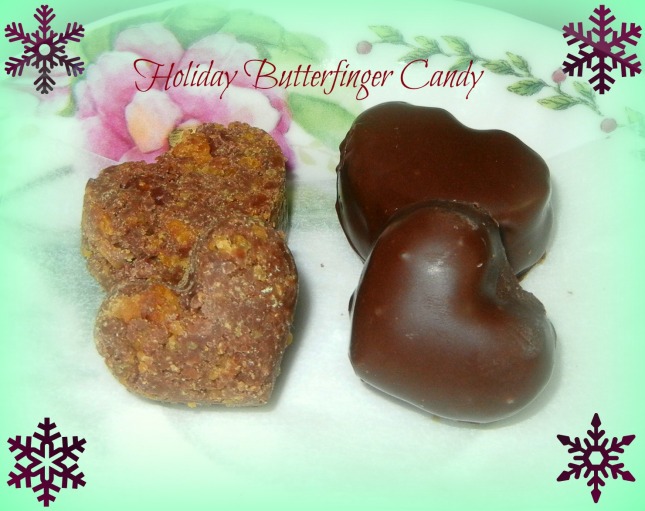
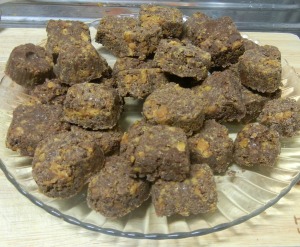
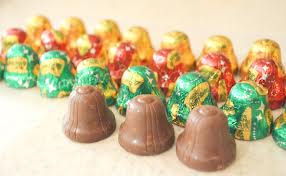
Butterfinger Jingles – bell shaped chocolates with chunks of butterfinger inside only come around once a year during the Christmas season in America. They are my favorite stocking-stuffer candy! Recently, I posted Homemade Butterfinger Bars, but these are even better! They taste identical to the real-thing, but they don’t make your teeth hurt because there is less sugar and you control the quality of the chocolate ![]() These will really blow you away!
These will really blow you away!
Homemade Holiday Butterfinger Candy
Servings: Makes 60-70 pieces
Ingredients:
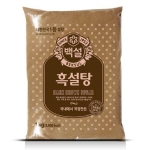
-1/3 cup brown sugar
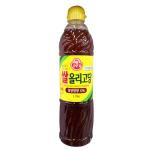
-1/4 cup brown rice syrup (this really makes them crispy, but you could sub agave nectar, honey, or maple syrup)
- 1 pinch salt (1/8 tsp)
-3/4 cup creamy peanut butter
-2 cups corn flakes (these will give you the most authentic taste, but you could use bran flakes too)
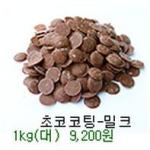
-2 – 2 1/2 cups milk chocolate chips or melting discs
-Additional chocolate for coating (optional)
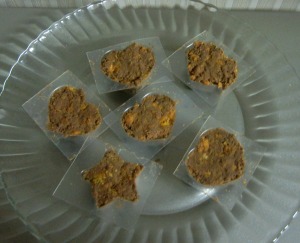
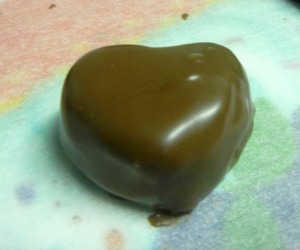
* You will need some plastic chocolate molds for this recipe, you can find them at bigger Home Plus stores or at some ’1,000 won’ shops like Daiso and also online at gmarket. You can use any shape, but the bigger – round, square, heart or oval type shapes work the best. I couldn’t find any bell shapes ![]() so I made hearts!
so I made hearts!
Directions
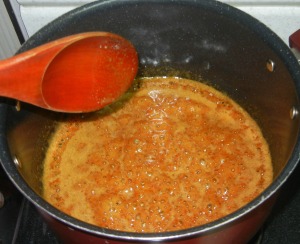
1) In a pot over medium heat, mix together the brown sugar and brown rice syrup for about 2-3 minutes until it is bubbly and slightly caramel color. ***Use a wooden spoon or high heat silicon to avoid any spoon melting issues!
2) Turn off the heat and add in the salt and peanut butter. Stir until combined.
3) Add in the cornflakes and mash/stir until the mix is uniform.
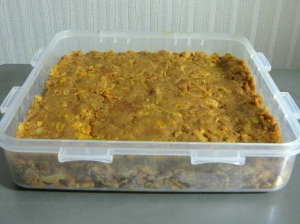
4) Transfer to a square or round container to cool. Cool in the freezer for about 30 minutes or the refrigerator for at least an hour.
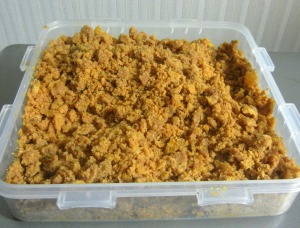
5) Once the mixture has hardened, break it up into small pieces using the tip of a knife or a fork.
6) Over a double-boiler – a bowl (glass or metal) over a pot, but not touching simmering water (not boiling!):
*melt 2 cups of chocolate if you are planning to coat the candies with chocolate after you mold them
*melt 2 1/2 cups of chocolate if you are not planning on coating them in chocolate
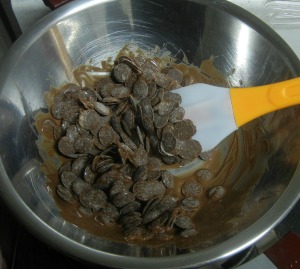
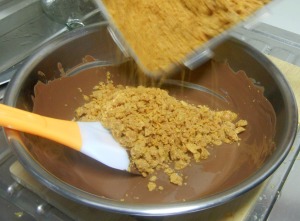
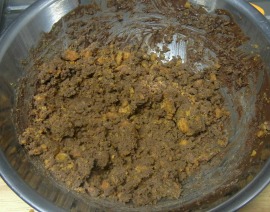
7) Add your candy pieces to the chocolate and stir together. Turn off the double-boiler, but keep the bowl over of the pot of hot water so that the chocolate stays pliable.
8) Get your chocolate molds and use your fingers to smash in the chocolate candy mixture so that it fills up the mold, but does not overflow, you want an even bottom. * I cut my molds into individuals because they are easier to work with.
9) Put the molds in the freezer for about 10 minutes to let the chocolate harden. Then remove from the molds.
10) If you wish to coat the candies in chocolate to make them more presentable, you could do that now. Just add about 1-2 cups of melting chocolate or chocolate chips (you can always melt more if needed) to a clean bowl and use the double-boiler method or microwave the chocolate in 3-4 30 second intervals. Dip the candies in the chocolates and use a fork to scoop them out while letting the excess chocolate drip off. Put them on parchment or wax paper and then in the refrigerator for 5 minutes and they will be beautiful!
11) Serve them as-is, in mini cupcake cups, or wrap them in fancy foil if you can find it!
Enjoy your well-deserved treat!
Below are the ingredients used in this recipe. You can find all the ingredients at Home Plus, however, you may want to order milk chocolate melting disks in bulk because they melt easily and you need quite a bit of chocolate for this recipe. I ordered my from this link on gmarket.
The real Butterfinger Jingles (above)
Nutrition Information
For 1 Serving (1 Candy): 65 Calories, 3.7 g Fat, 1.7 g Saturated Fat, 0 mg Cholesterol, 24 mg Sodium, 8.4 g Carbohydrates, 0.2 g Fiber, 6.5 g Sugars, 0.7 g Protein. *Based on 70 pieces using 2 1/2 cups chocolate, but not coated in chocolate.
Filed under: Desserts

HungryGirlinKorea.wordpress.com
The blog about healthy cooking and baking in Korea
